If you’d like to change the font on your Windows 7 computer, there are several methods that you can use to do so. You can open your control panel and click on appearance. From there, you can choose a new font size or color. Next, you should click on color and then select the desired size of the text. If you don’t see the desired size, you can change the color to make it larger or smaller.
In order to change the font on Windows 7, you must change the Advanced Appearance settings for the user. This option is hidden in the Advanced Appearance settings for a single user. You can find the Advanced Appearance settings by using the search function on the search bar. Once you have found the desired window, you need to open it and find the “Fonts” tab. Once you’ve made the selection, click the OK button. Once the file is saved, restart your PC.
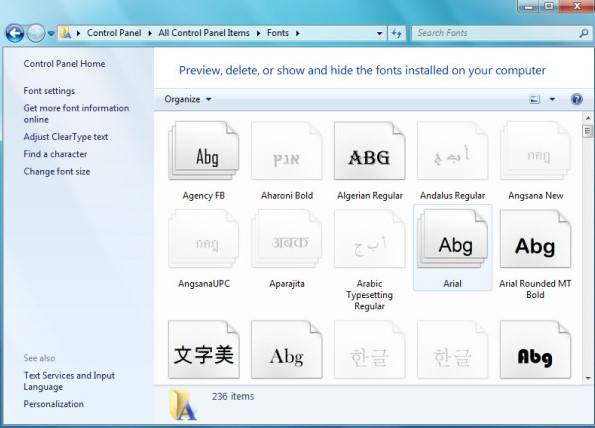
The first thing you should do to change the font in Windows 7 is to locate the C:WindowsFonts folder. By default, Windows uses the Tahoma font, which is not the most attractive. In order to change this, you can edit the REG file for Windows 7. To do this, click on the downloaded reg file and merge it with the one you found above. Once this is done, you should restart your computer to see the new font.
You can also change the font in Windows 7 by modifying the REG file for your system. Then, you can choose a different font by editing the corresponding file in the REG file. You can find the file below. Once you have done that, merge the merged.reg file with the Tahoma.reg file. After the merge is completed, restart your computer and you’re ready to use your new font.
Correct language

The first step in changing the Windows 7 font is to choose the correct language. The most common languages are English, Spanish, and German. If you’re looking for a specific language, you’ll have to choose the language in which you’ll speak. It’s not always possible to translate the language of a non-English speaking country, but the translation of a word can be very helpful in your search for the right font.
You can change the language of Windows 7 by editing the REG file. To do this, you should select the language where you want to change the language. In this case, you will need to select the local language and the language that you want to use. Then, select the language for which you want to change the language. You can use this method to change the language on your computer. If you’re not able to change the language, you can use the language you installed in the previous step.
Changing the font in Windows 7 is not very complicated. The only thing you need to do is to search for the proper keywords and type the correct language in the search bar. You should be able to find the font that matches the language you want to use. Once you’ve found the right font, you’ll need to reboot your PC. Moreover, you’ll need to minimize all the programs on your computer before changing the font.
Once you’ve selected the language, you can now choose a font. Then, go back to the language settings to change the language setting. It is important to note that this is not a replacement for the language settings in Windows 7. You can change the language fonts and other settings on your computer. You should also make sure to have the right version of the font for your computer. You can also find the right language for your system by looking at the “language” option.
After choosing the language and font of your computer, you can then change the font. Changing the language setting on your computer is another good way to change the look of the system. You can change the font of your system by changing the languages in the Windows registry. If you’d like to change the font of your desktop, you’ll need to edit the.reg file. Ensure that you approve the merge before restarting your PC.